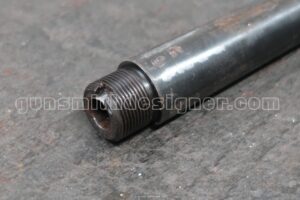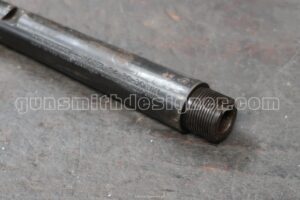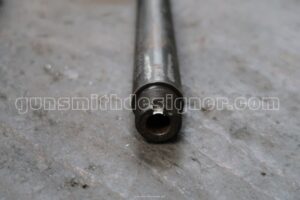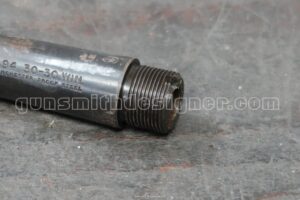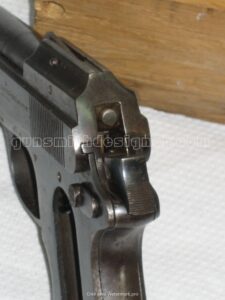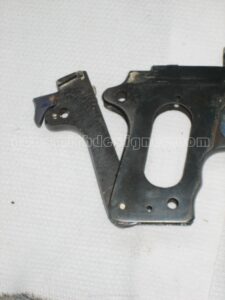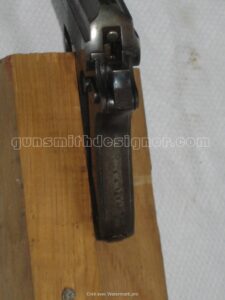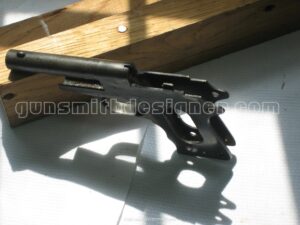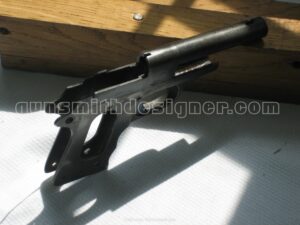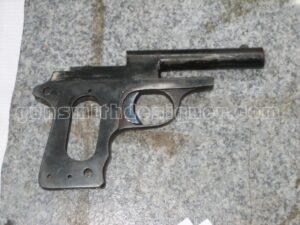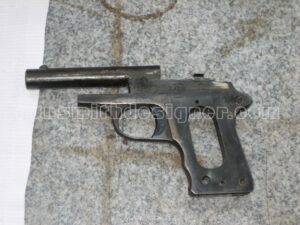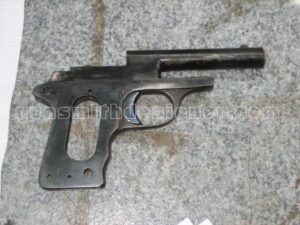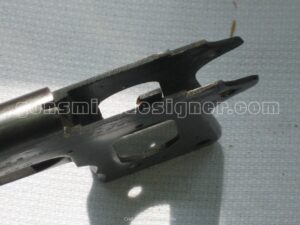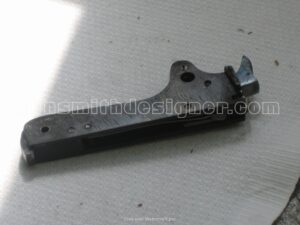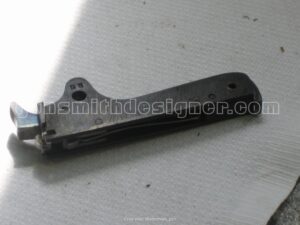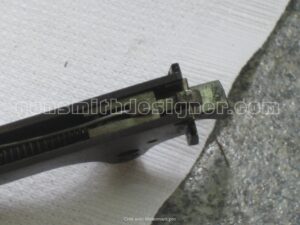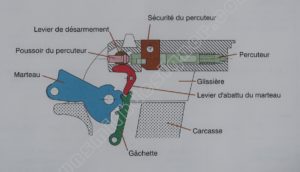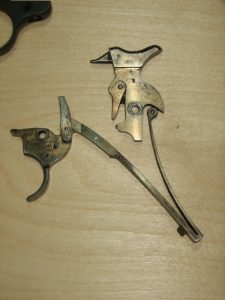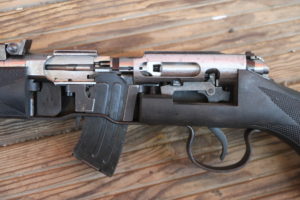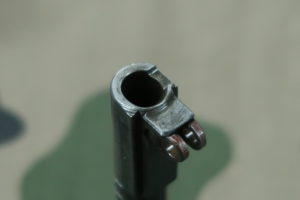


While looking for answers to my questions on an American forum, I came across a series of posts regarding a user’s wish to replace the barrel of his Ruger MK II pistol, who was unable to find the operating procedure to carry out this task.
This made me want to research this information and make it available to the community. Since if you want a thing done well, do it yourself—and you can only believe what you see—I preferred to gather this information directly at the source, right at the workbench, rather than simply relaying details found online.
Tooling
-
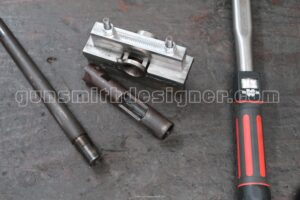
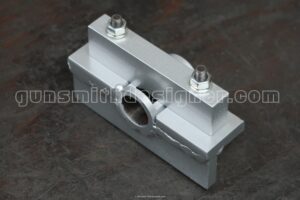
- As seen in a previous article, it is not always easy to find the right equipment for a specific job. This is once again the case for the Ruger pistol. While it is possible to find the die to recut or clean the barrel threads, I have never seen a receiver wrench or interface specifically made for the receiver for sale. Therefore, I had to make one myself. This fixture is designed to fit onto the front of the receiver. It uses the flat surface on the underside of the receiver as a bearing surface for tightening and loosening. I chose not to use the ejection port cutout or the rear bolt notch to avoid any risk of damaging or twisting the receiver.
-
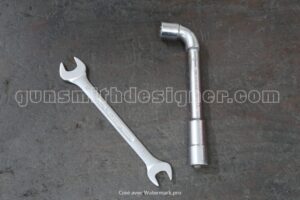
- Two wrenches, which will be used to secure the fixture onto the receiver.
-
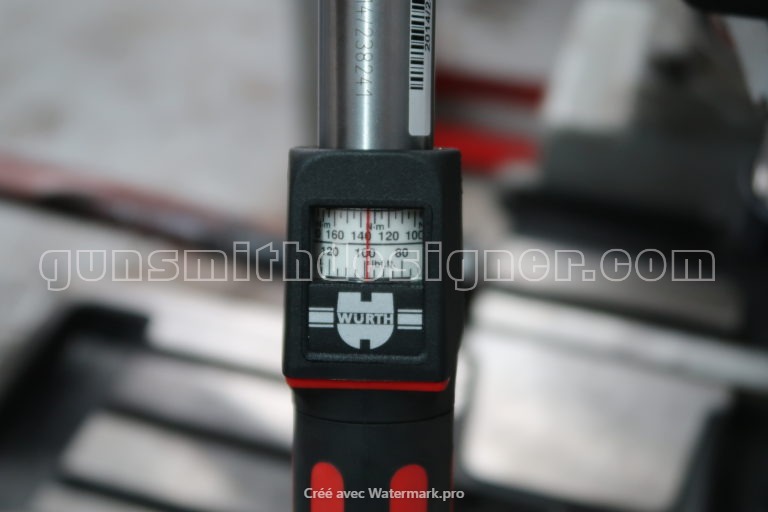
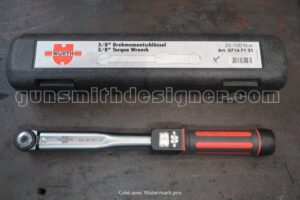
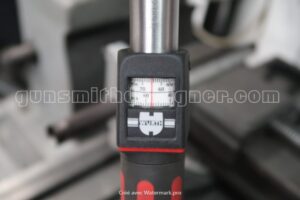
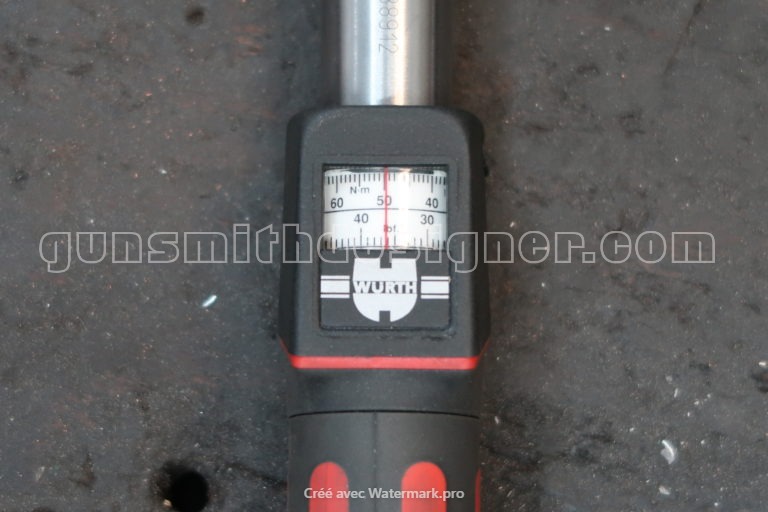
- A torque wrench to measure the breakaway torque. Here, I used a Würth model ranging from 20 to 100 N·m (approx. 15 to 74 ft-lbs). The part number is visible below.
-
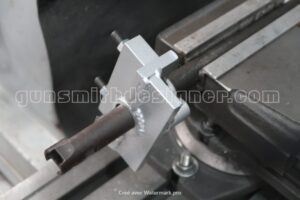
- A rigid anchor point to firmly hold either the receiver or the barrel. Once again, I chose to mount the fixture onto the receiver and clamp the barrel into the fixed point. Doing the reverse would also be possible. My rigid anchor point is a milling machine—or more precisely, the machine’s vise.
-
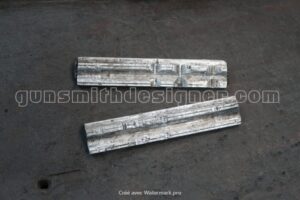
- Two aluminum V-blocks to protect the barrel.
Pre-Disassembly Steps
Before disassembly, the area where the barrel threads into the receiver (the breech/chamber area) was heated with a blowtorch. The purpose of this is to detect whether threadlocker or adhesive was applied by the manufacturer when installing the barrel. Heating this section—if the parts were bonded together—produces smoke and a distinctive odor. This provides extra insight into what to expect. It also serves to burn off the adhesive and break its bond.
The actual removal of the barrel was performed cold.
Installing the Fixture
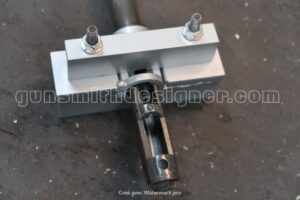
Once the fixture is installed, a very slight clearance remains between the jig and the receiver so as not to compress the receiver inward and risk damaging the barrel threads.
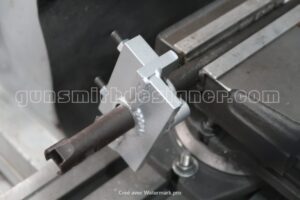 Disassembly and Torque Measurement
Determining the breakaway torque is done empirically by testing a low setting on the torque wrench and gradually increasing the value between attempts. This method provides:
-
- An estimate of the factory tightening torque ;
- An estimate of the torque required for reassembly.
This is a technique we already covered in the articles on removing and reinstalling a Winchester 94 barrel (link here and here).
One could skip recording this value and do without a torque wrench. However, it would be a shame to miss out on valuable and rarely documented technical data.
A video demonstrating the procedure is available below.
For this firearm, the breakaway torque is: 65 N·m (approx. 48 ft-lbs).
Disassembled Parts
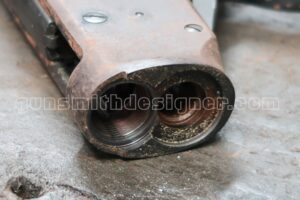
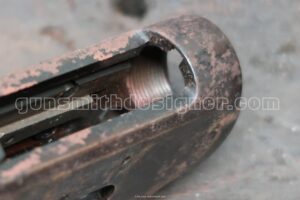
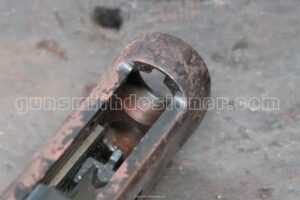
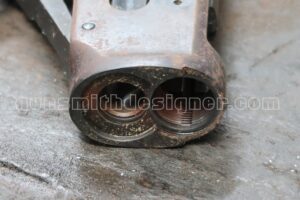
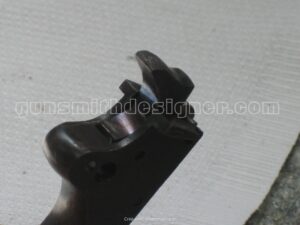
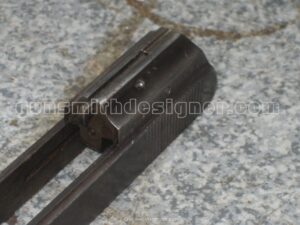
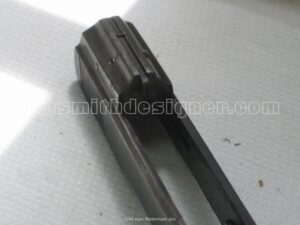
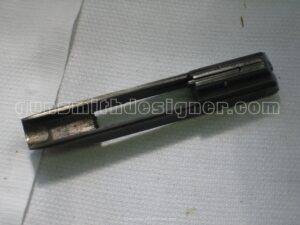
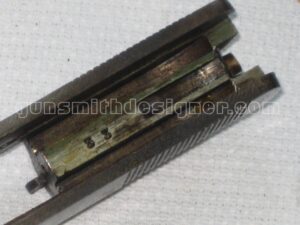
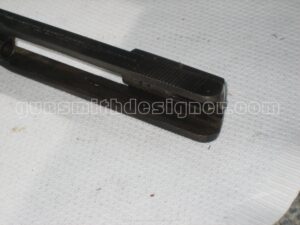
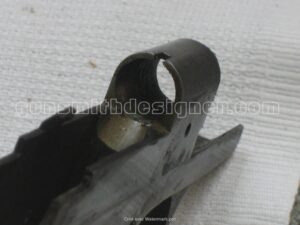
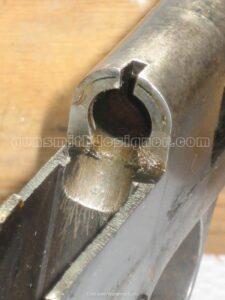
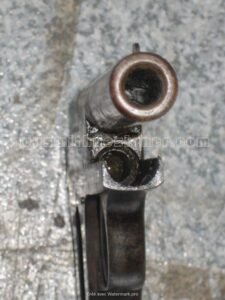
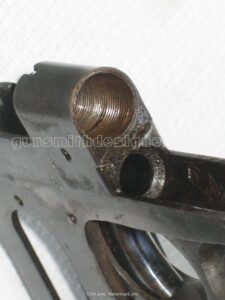
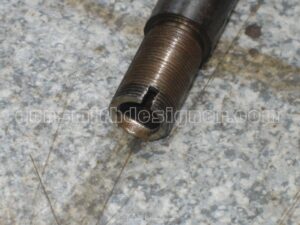
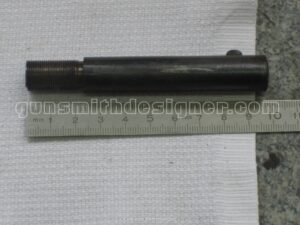
Taking these two components apart made it possible to capture the following views and measure several key dimensions.
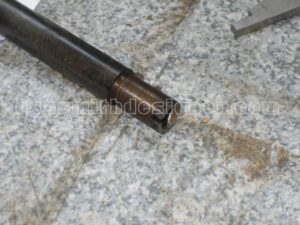
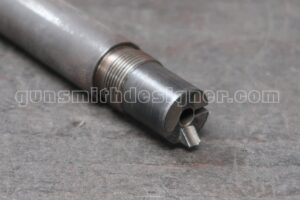
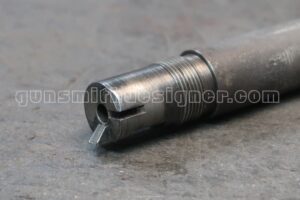
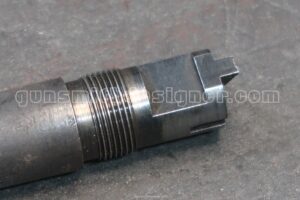
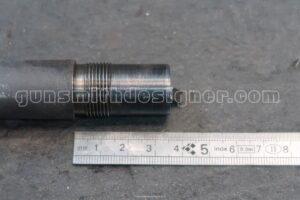
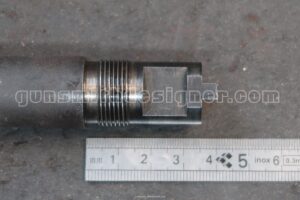
The barrel:
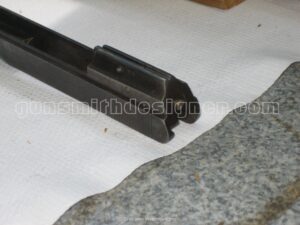
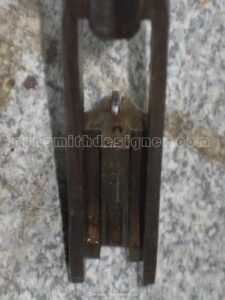
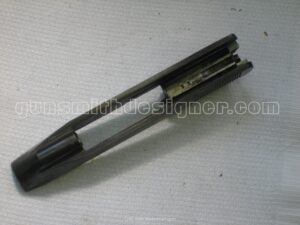
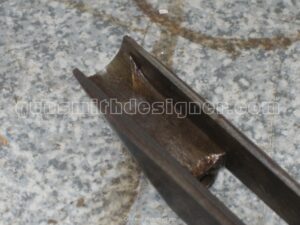
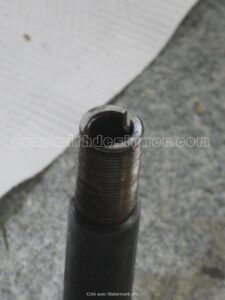
The receiver:
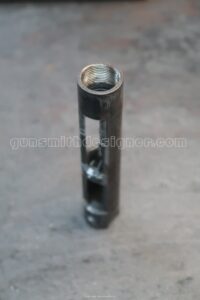
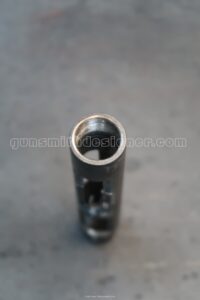
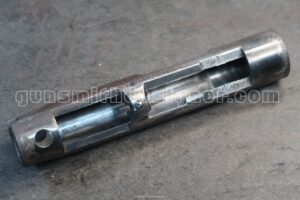
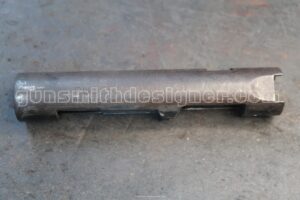
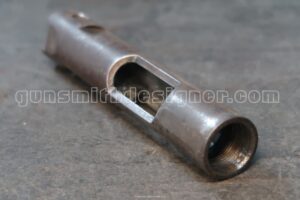
Measured dimensions:
-
- Length of the threaded section of the receiver: 17 mm ;
- Major diameter of the barrel threads: 20.6 mm ;
- Thread pitch: 20 TPI (threads per inch) ;
- Length of the barrel shank entering the receiver (excluding the feed ramp): 34.9 mm ;
- Length of the feed ramp: 4.7 mm ;
- Width of the feed ramp: 4.8 mm ;
- Internal diameter of the receiver: 19 mm.
Reassembly and Proper Barrel Alignment
The parts must be clean before reassembly. Make sure there are no burrs and/or foreign debris present.
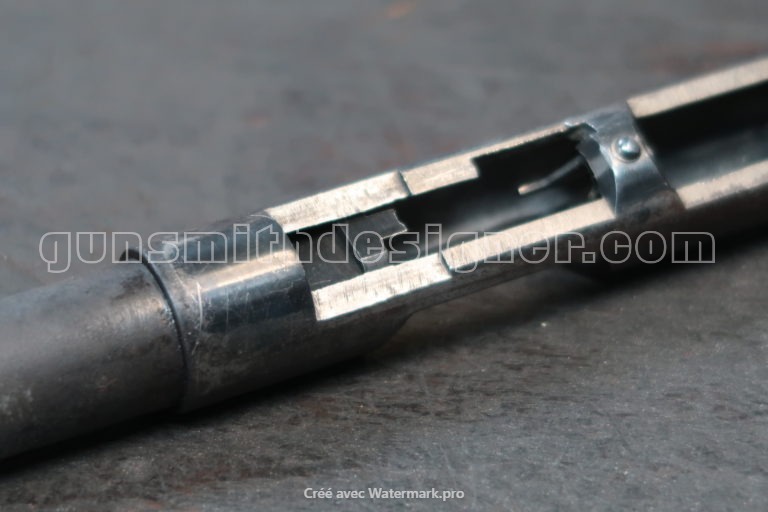
The first step is to thread the barrel in by hand to ensure there is no binding or tight spots. The photo below shows the position of the barrel relative to the receiver at the end of hand-tightening.
Next, you must align the flat on the barrel with the flat on the underside of the receiver. You can use the sharp edges or machining marks of the ejection port as a reference to line up the barrel and the receiver. The tooling and procedure are generally the same as during disassembly. However, I noticed that the torque is not the same upon reassembly; less effort is required to return the barrel to its original index position.
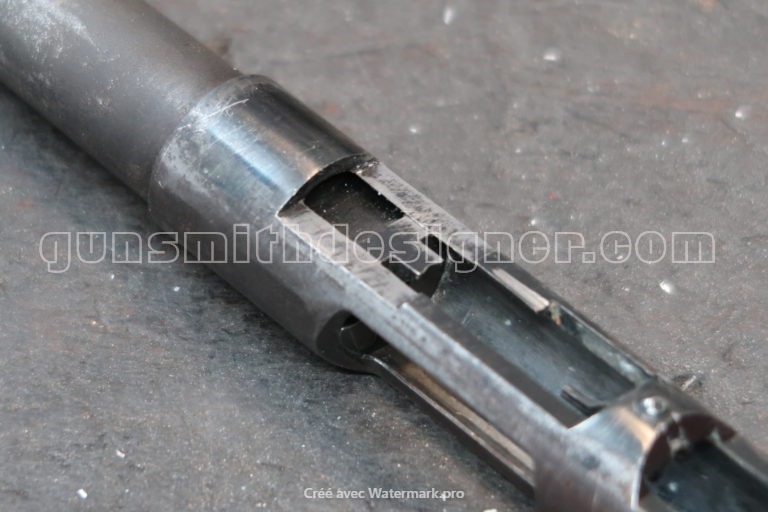
In the event that you are replacing the barrel or the receiver—meaning you are mismatching the original factory pair—you will need to tighten to a given torque and then adjust the barrel shoulder so that the feed ramp and extractor cut index in the exact right position. Everything depends on the barrel profile.
Threadlocker can be used if you wish to reinforce the holding power of the tightening torque.
Reassembly torque: 50 N·m (approx. 37 ft-lbs).
Conclusion
There are many variants of this firearm. To see for yourself, you can click on this link: list of Ruger .22 LR pistols.
Through this article, we have looked at just one firearm from this long lineage. The methodology used here may not be suitable for another firearm of the same type, and you may therefore need to adapt the method. The website gunsmithdesigner.com declines all responsibility in the event of damage.
The tooling could be much simpler if you were not trying to gather technical measurements. In that case, there would be no need for a torque wrench—a simple breaker bar of sufficient length would do the job.
Removing and reinstalling an original barrel is one step. Replacing the barrel or the receiver with a new one is another matter entirely. Indeed, strict rules and tolerances must be followed for a firearm to function safely and properly, and to avoid risking injury or damage to yourself or others.
If you do not feel confident carrying out this kind of technical operation, entrust the work to a professional gunsmith.